

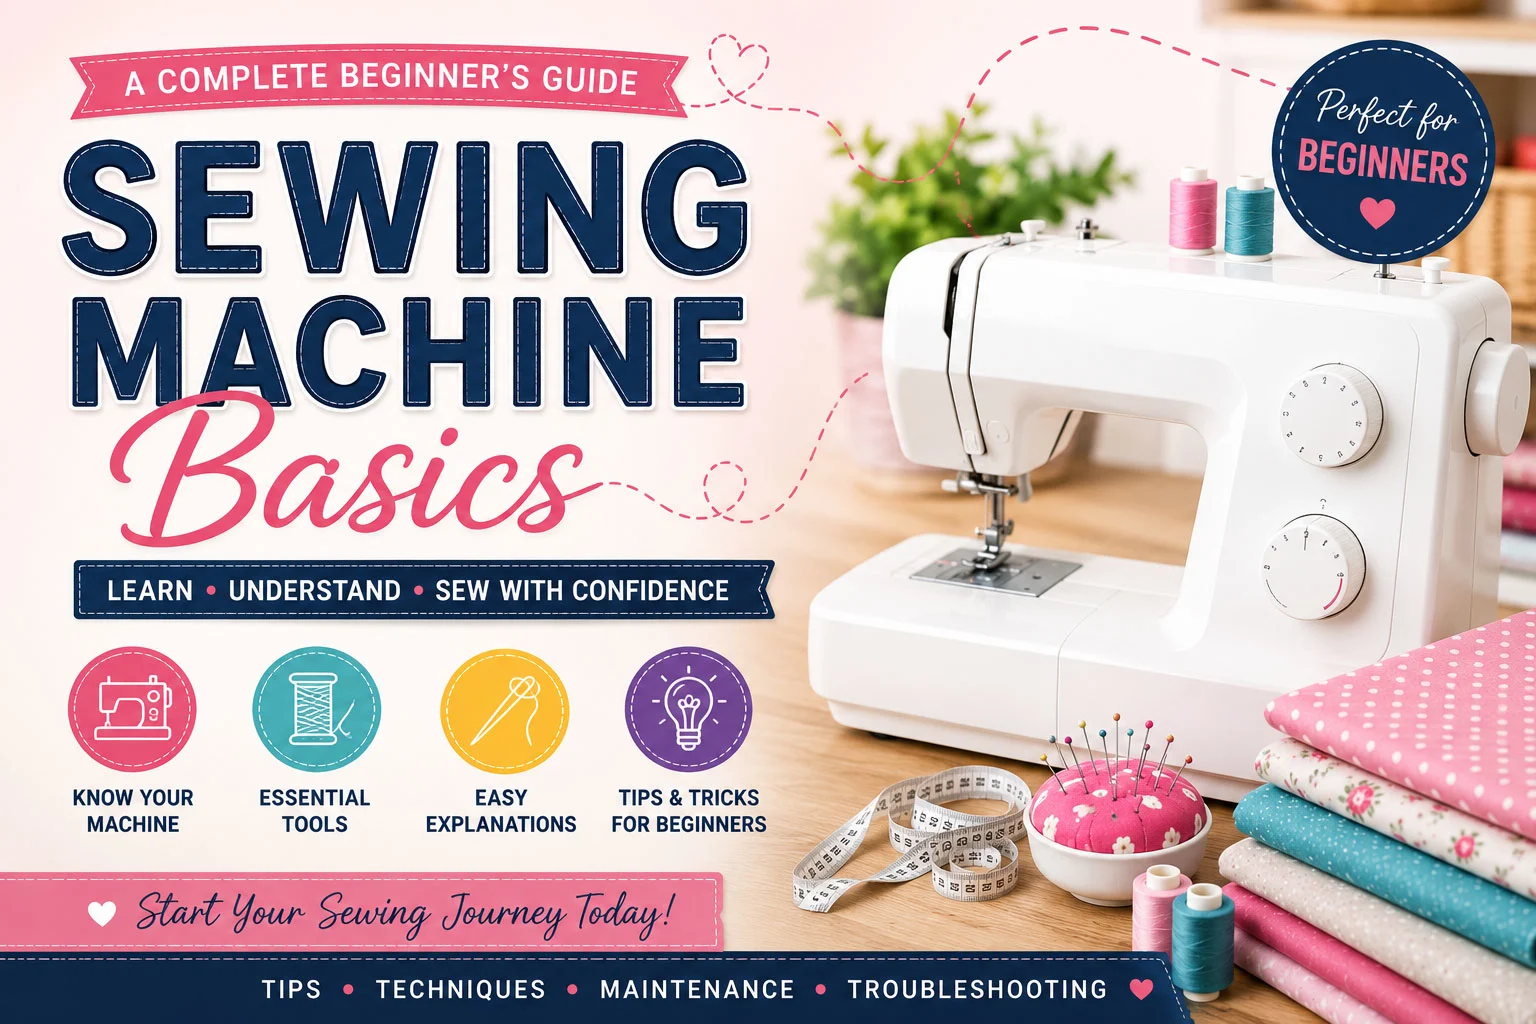
Have you ever looked at a Sewing Machine Basics and wondered where to begin? You’re not alone. Every experienced sewist started exactly where you are today—learning the basic parts of a sewing machine and understanding how they work together.
The good news is that you don’t need to know everything on your first day. Once you understand the essential parts and their functions, sewing becomes much easier and far more enjoyable.
In this guide, we’ll cover the basics of a sewing machine, explain its main parts, and share practical tips to help you sew with confidence.
What Is a Sewing Machine?
A sewing machine is a tool that joins two or more pieces of fabric together using thread. It creates strong, neat stitches much faster than hand sewing and allows you to make clothing, home décor, bags, quilts, and countless DIY projects.
Modern sewing machines also include different stitch patterns, adjustable stitch lengths, and features that make sewing easier for beginners.
Main Parts of a Sewing Machine
1. Needle
The needle is one of the most important parts of your sewing machine. It carries the upper thread through the fabric to create stitches.
Tips:
- Replace your needle after every 6–8 hours of sewing.
- Use the correct needle for different fabrics.
- Never sew with a bent or dull needle.
2. Presser Foot
The presser foot holds the fabric firmly against the feed dogs while stitching.
Different presser feet are available for different tasks, including:
- Standard sewing
- Zippers
- Buttonholes
- Blind hems
- Decorative stitches
Always lower the presser foot before you start sewing.
3. Feed Dogs
Feed dogs are the small metal teeth located underneath the presser foot.
Their job is to move the fabric forward evenly as you sew.
If your fabric isn’t moving smoothly, check:
- The feed dogs are raised.
- The stitch length isn’t set to zero.
- The presser foot is lowered.
4. Bobbin
The bobbin holds the lower thread that works together with the upper thread to create each stitch.
A correctly wound bobbin helps prevent:
- Thread nests
- Skipped stitches
- Uneven stitching
Always wind your bobbin evenly and insert it according to your machine’s instructions.
5. Thread Spool Pin
This is where you place your thread spool.
The thread travels from the spool through several guides before reaching the needle.
Using a spool cap (if your machine includes one) helps the thread unwind smoothly.
6. Thread Guide
Thread guides direct the thread through the correct path.
If the thread isn’t threaded correctly, you may experience:
- Thread breakage
- Loose stitches
- Tension problems
Always follow the threading path shown in your sewing machine manual.
7. Tension Dial
The tension dial controls how tightly the upper thread is pulled while sewing.
If the tension is too tight:
- Fabric may pucker.
- Thread may break.
If the tension is too loose:
- Loops appear underneath the fabric.
- Stitches become weak.
Most everyday sewing works well with the default tension setting.
8. Stitch Selector
The stitch selector allows you to choose different stitch patterns.
Common stitches include:
- Straight stitch
- Zigzag stitch
- Stretch stitch
- Decorative stitches
- Buttonhole stitch
Beginners should start with the straight stitch before trying decorative options.
9. Stitch Length Control
This setting changes how long each stitch will be.
Typical settings:
- Short stitches for delicate work
- Medium stitches for general sewing
- Longer stitches for basting or thicker fabrics
10. Hand Wheel
The hand wheel allows you to manually raise and lower the needle.
Use it whenever you need precise control, especially:
- Starting a seam
- Turning corners
- Removing fabric safely
Always turn the hand wheel toward yourself unless your machine manual says otherwise.
Essential Sewing Tools
Besides your sewing machine, keep these tools nearby:
- Fabric scissors
- Small thread snips
- Measuring tape
- Pins or sewing clips
- Seam ripper
- Extra needles
- Bobbins
- Tailor’s chalk or fabric marker
- Iron and ironing board
Having the right tools makes sewing more enjoyable and improves the quality of your finished projects.
How to Set Up Your Sewing Machine
Before you begin sewing:
- Place the machine on a stable table.
- Insert a new needle.
- Wind and insert the bobbin.
- Thread the upper thread correctly.
- Pull both threads underneath the presser foot.
- Select a straight stitch.
- Test your stitches on scrap fabric.
Never start on your final project without testing first.
Common Beginner Mistakes
Every beginner makes mistakes, and that’s part of learning.
Some common ones include:
- Forgetting to lower the presser foot.
- Using the wrong needle.
- Sewing without testing stitch tension.
- Pulling the fabric while sewing.
- Using dull scissors.
- Not cleaning lint from the machine.
Learning from these mistakes will help you improve much faster.
Basic Sewing Machine Maintenance
A clean machine performs better and lasts longer.
Remember to:
- Remove lint after each project.
- Change the needle regularly.
- Keep the bobbin area clean.
- Cover the machine when not in use.
- Oil the machine only if recommended by the manufacturer.
Regular maintenance prevents many common sewing problems.
Tips for Beginners
- Practice on cotton fabric first.
- Sew slowly until you build confidence.
- Keep your fingers away from the needle.
- Learn one new technique at a time.
- Don’t worry about perfection—every project helps you improve.
The more time you spend practicing, the more comfortable you’ll become with your sewing machine.
Learning the basics of a sewing machine is the first step toward creating beautiful handmade projects. Understanding how each part works will save you time, reduce frustration, and make every sewing session more enjoyable.
Whether your goal is to sew clothes, bags, home décor, or gifts for loved ones, mastering these basics will give you the confidence to tackle bigger and more exciting projects.
Happy sewing, and remember—every expert sewist was once a beginner!